Red Sonja Portrait
Posted by Meg
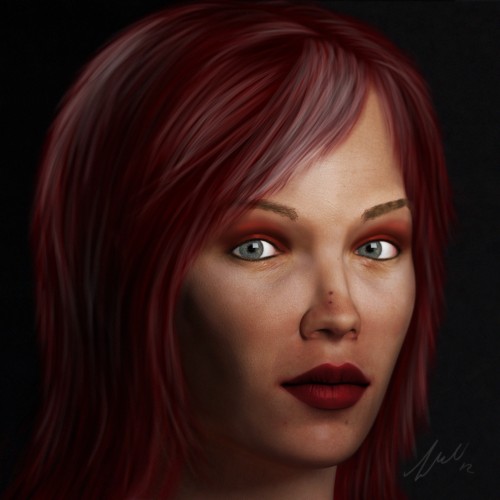
Fan Jonathan Macdonald sent Peat his gorgeous portrait of Red Sonja.
Peat forwarded me Jonathan’s email, and I was immediately blown away. Jonathan included a couple photos cataloging the process of creating her. Interested, I asked him if wouldn’t mind taking us through the process. He happily obliged.
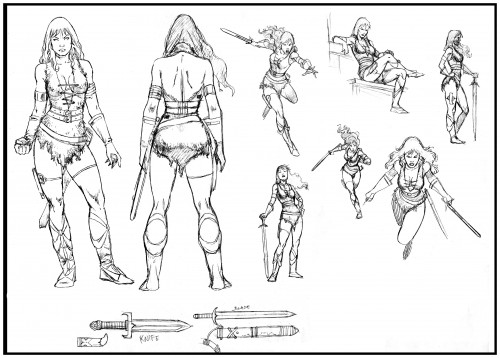
After being an avid reader of the Demon Cycle books, when I heard Peter was doing the Red Sonja Blue comic I got really excited. As the comic progressed I saw Walter Geovani’s artwork for Red Sonja. I thought that it would make an awesome 3D Character.
After looking at the sketch work for a while, working out how I would model her, the comic was published and I had to have it. So after waiting a week, it finally arrived from the USA. From this and the sketch work I had all the images I needed to create Red Sonja Blue.
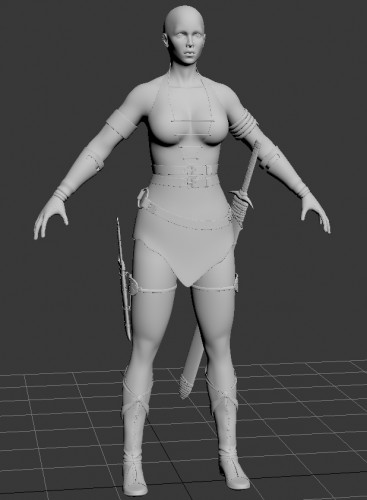
After about a week of total modeling time spent on this, the full character was complete. This character was created in Autodesk 3ds Max.
Now as for my skills I can model, sculpt and texture all day long. However my skills are lacking in the setting up of materials and lighting. So given this, I decided to focus on the head so I could do lots of tests and learn the skills I needed to try them on a smaller area, to get them right first.
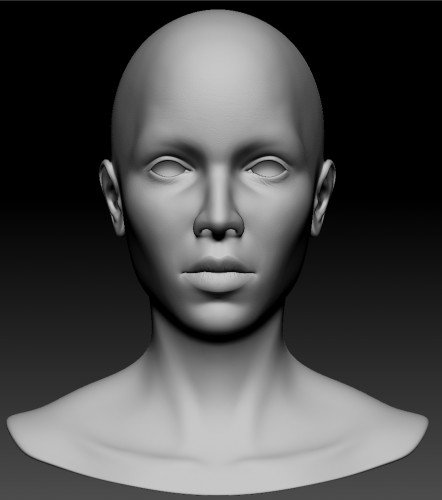
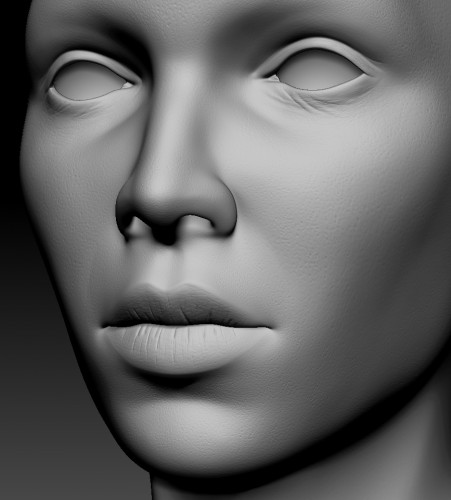
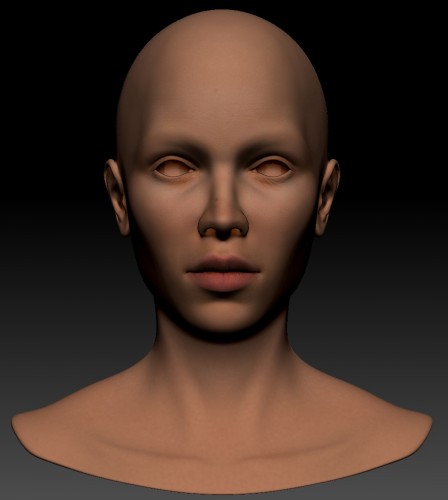
After I had separated the head from the rest of the body, I imported it into Pixologic Zbrush. Here I sculpted all the fine details like wrinkles and pores.
Here’s a close up
After all the details had been added I then set about texturing. This was also done primarily in Zbrush using a combination of projection painting with photographs and changing the standard brush settings so that it acted like an airbrush. I then used actual real life painting techniques just as you would with an actual airbrush to paint the less important areas of the head.
I then exported the head, normal map and diffuse map. Next I used Adobe Photoshop to quickly create the other maps needed for the head and eyes.
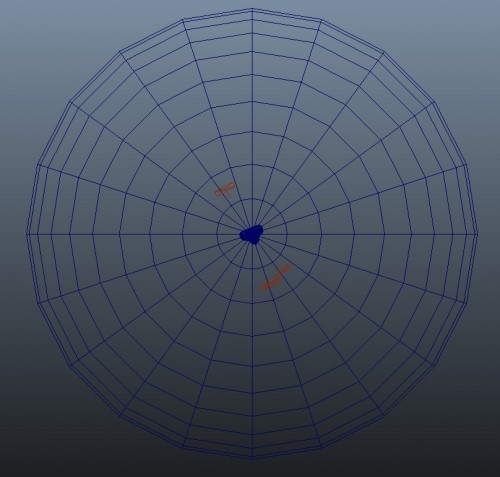
I then imported the head into Autodesk Maya where I set up the lighting
This included an Environment Sphere, Rim Light behind the head, Main Light in front and a Physical Sun & amp; Sky Light just next to the Main Light.
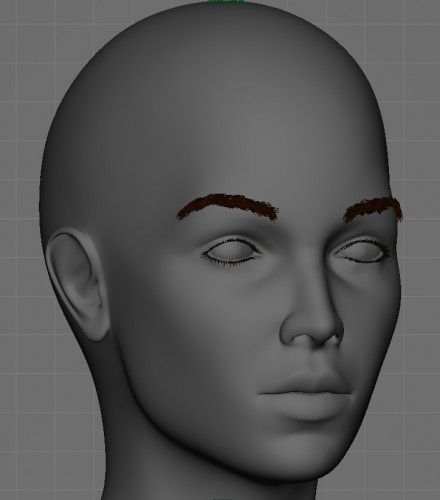
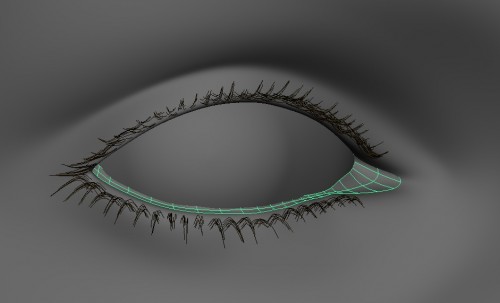
Next was to add the final details for the portrait, the eye brows, eye lashes and the caruncula ( the wet tissue in the corner of the eye that runs along the bottom eye lid
As I had never used hair systems before, when it came to the actual hair I ran into a few issues so I decided to paint the hair on when it came to the compositing stage.
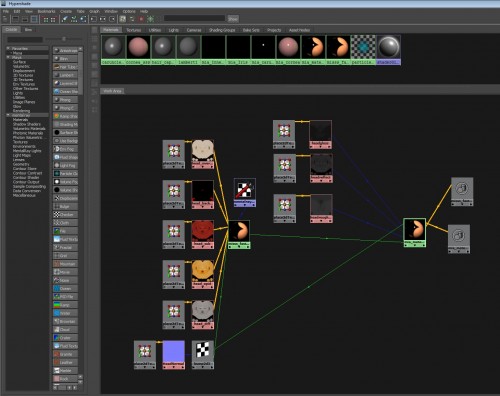
I then set about setting up all the materials for the skin and eyes. This process also got a bit tricky. To keep it simple the setting up of the materials is the connection of all the texture maps and having the correct settings, so that they react to the lights and environment correctly.
Here’s a screenshot showing just the skin material shading network.
Now the final stage was rendering. For this I used render layers. These included different aspects of the scene. These were Rim Light Layer, Main Light Layer, Physical Sun & Sky Light Layer, Matte Layer and Depth Layer.
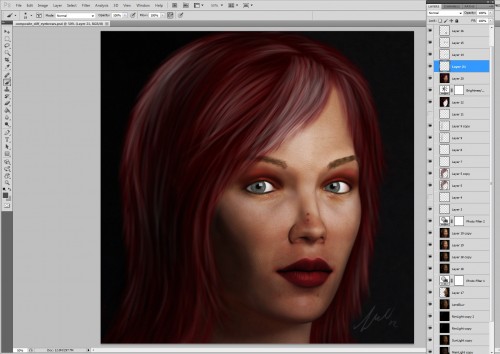
These were then put into Adobe Photoshop where I composited the image using lots of different layer effects, adjustments and filters as well as painting the hair and make-up in.
Here’s the finished image.
Hope you like.
If you want to see more of my work it can be found here.
Don’t forget to submit to the Create Your Own Coreling Contest by 11:59pm on May 18, 2012. For more details, check out the rules here.

Beautiful! Looks like an unbelievable amount of work.