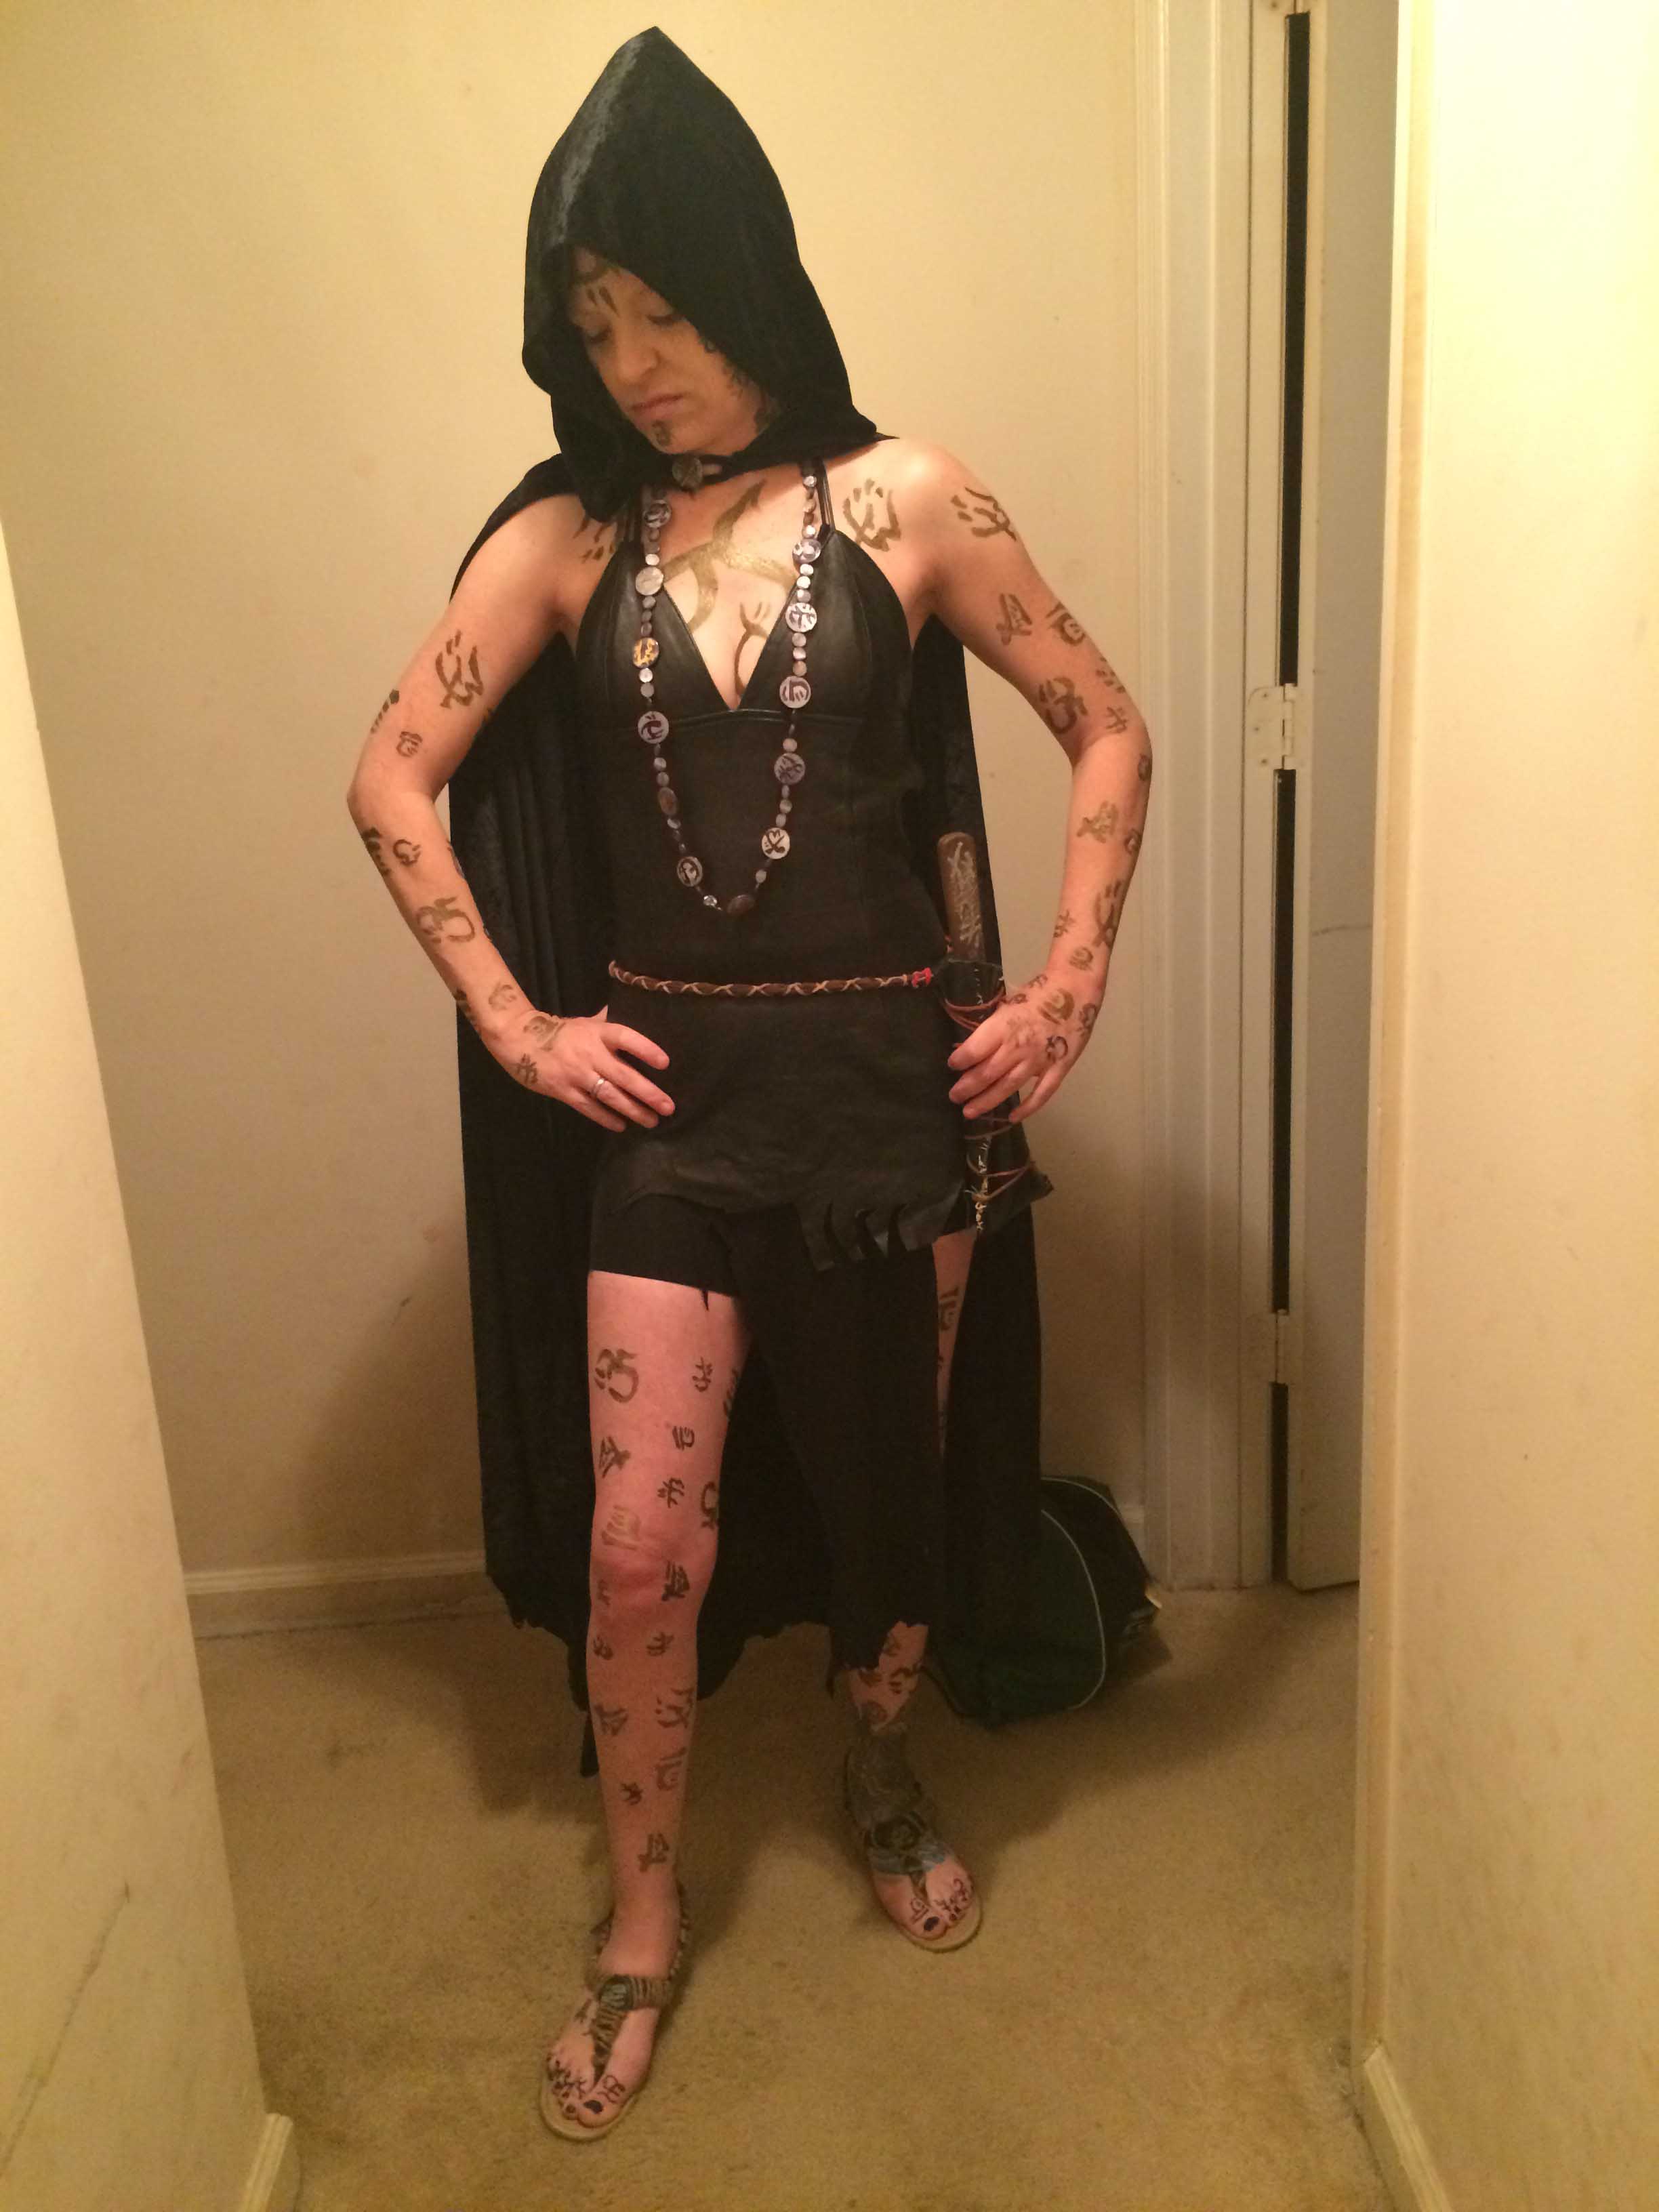
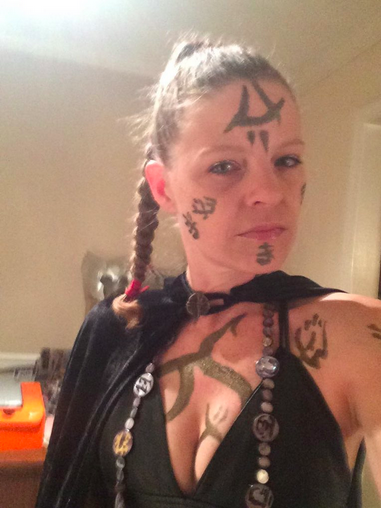
Arlen and Renna Halloween Cosplay!
Posted by Karen
Hey everyone! On Halloween, Daniel and Cat wowed us with their stunning Demon Cycle cosplays (Arlen and Renna respectively). We followed up to get the full scoop on their creative process. Check it out!
“Here are some Halloween pictures I mentioned on Goodreads of me and my girl dressed as Arlen and Renna. I think she already may have got you some via Facebook.
Hope you like them- it was a real challenge (and rather tedious at some parts) but I think we represented the characters pretty well”.
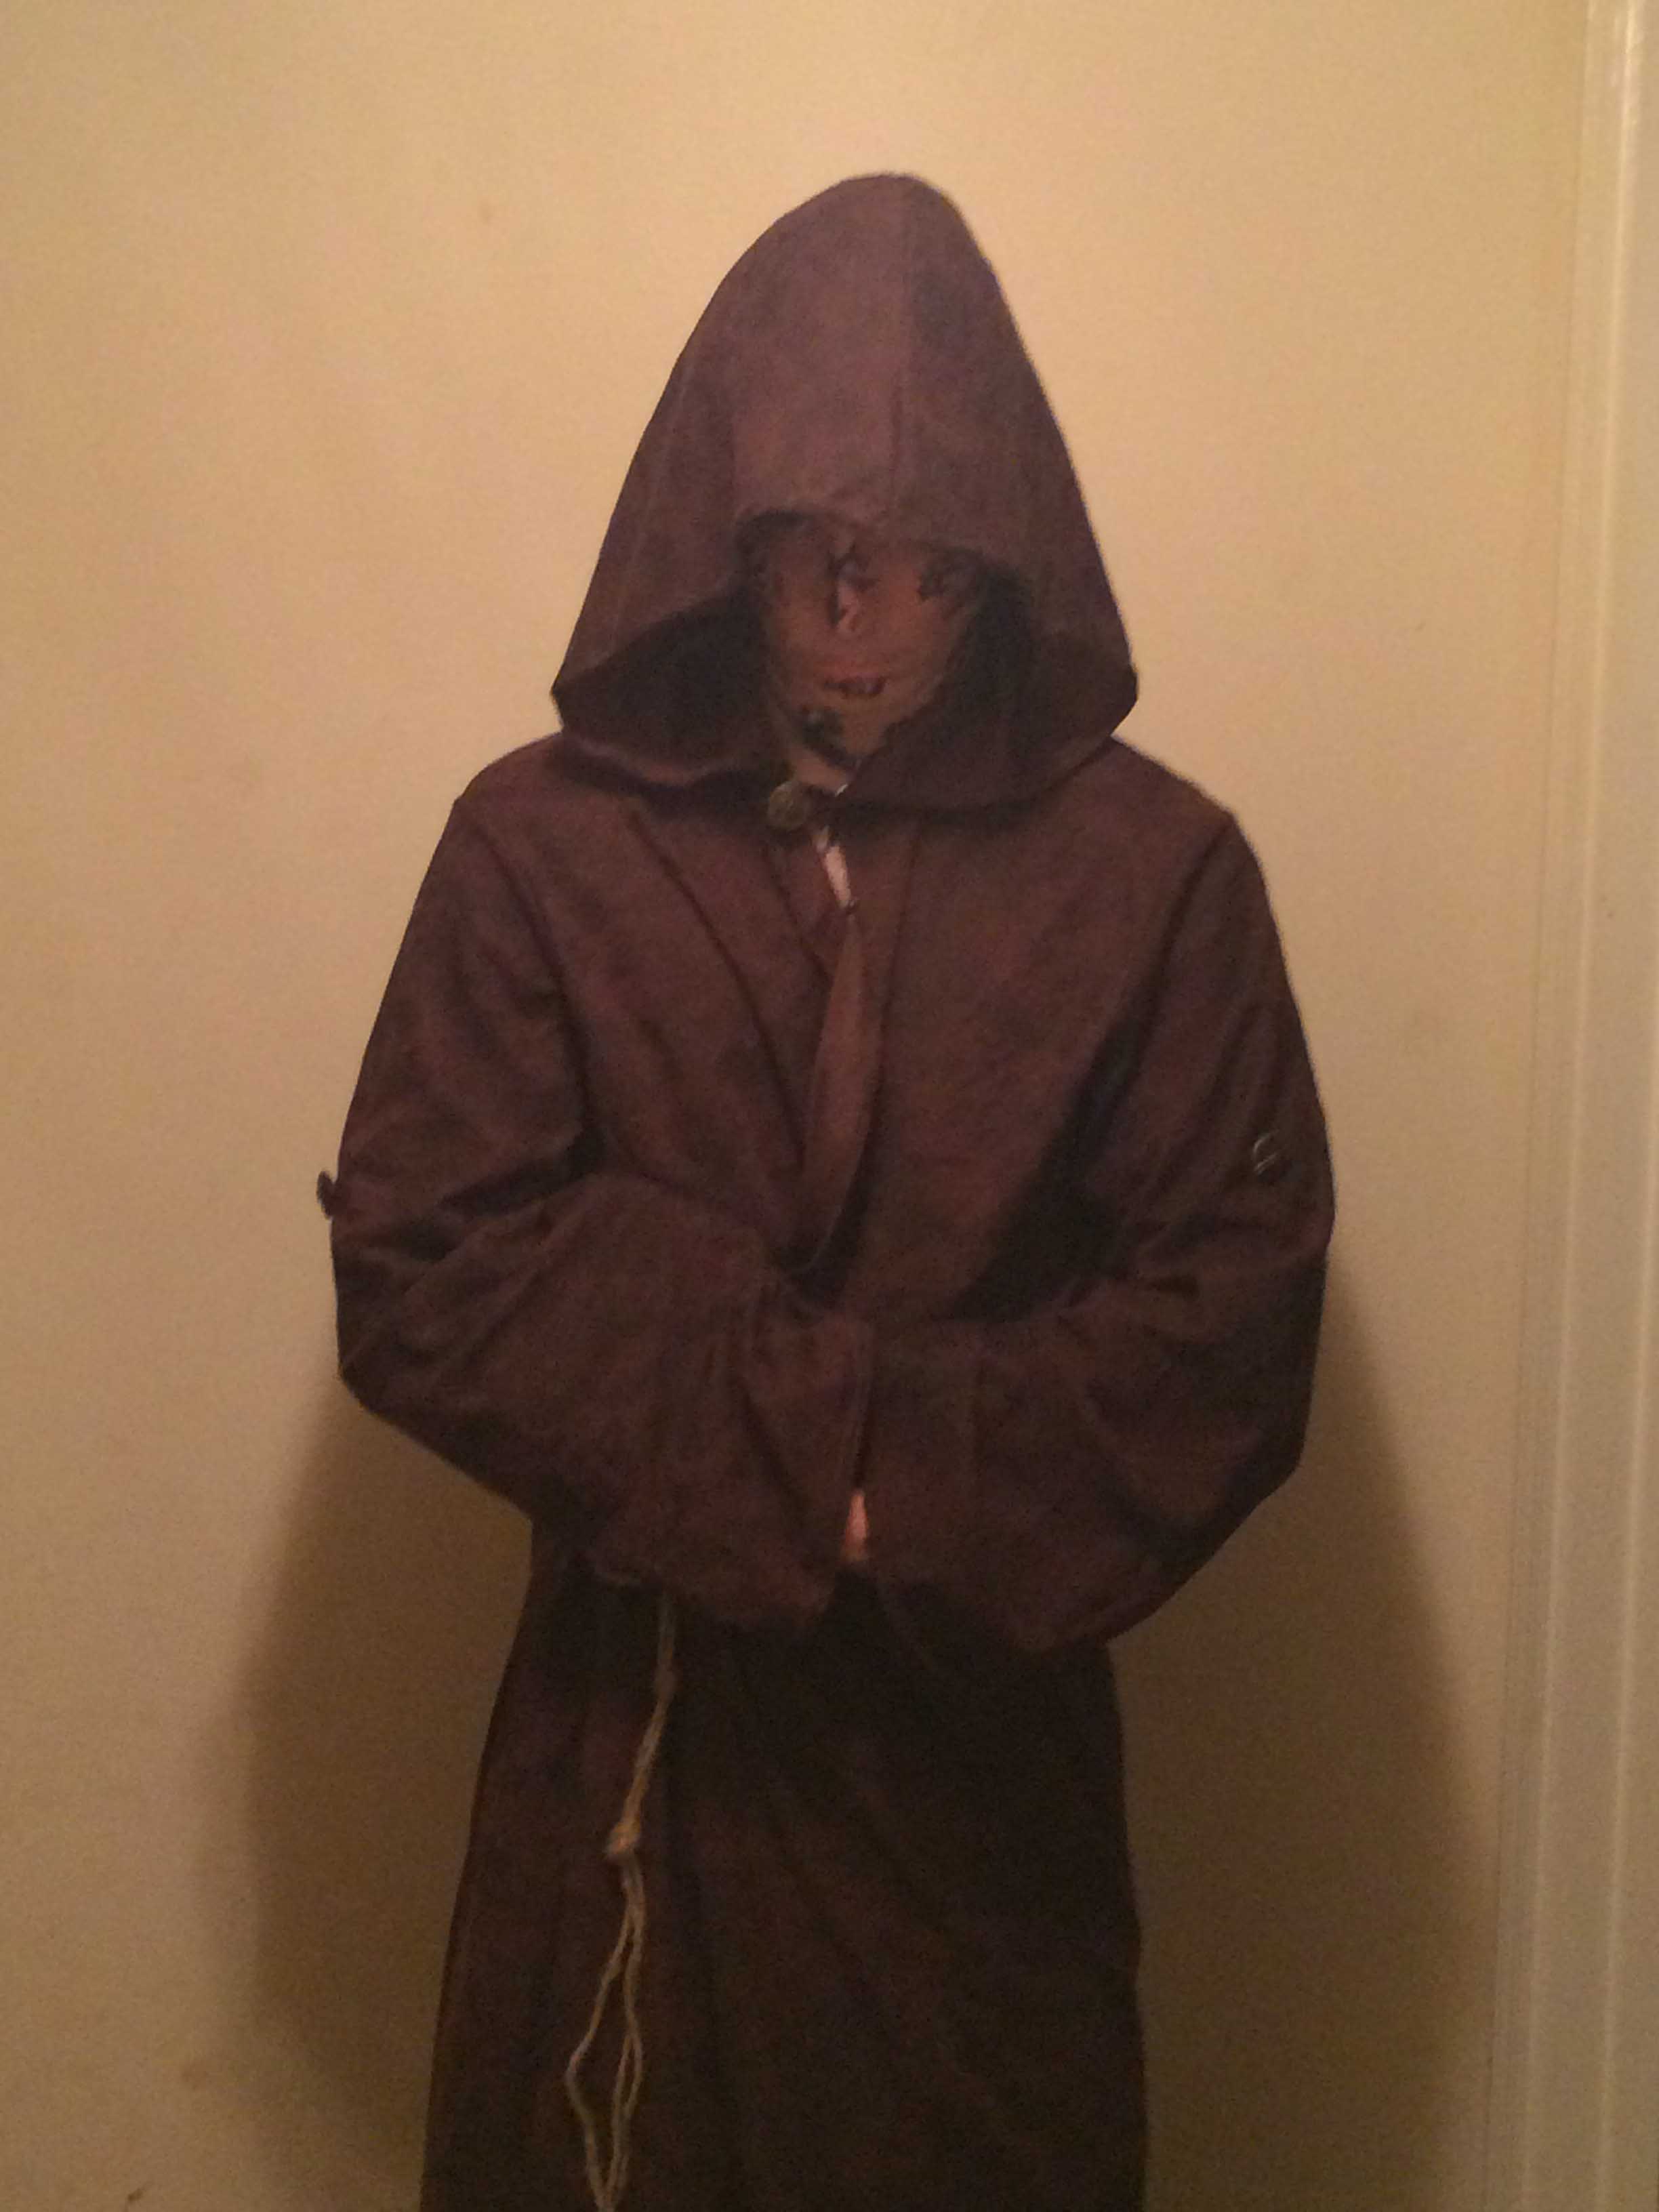
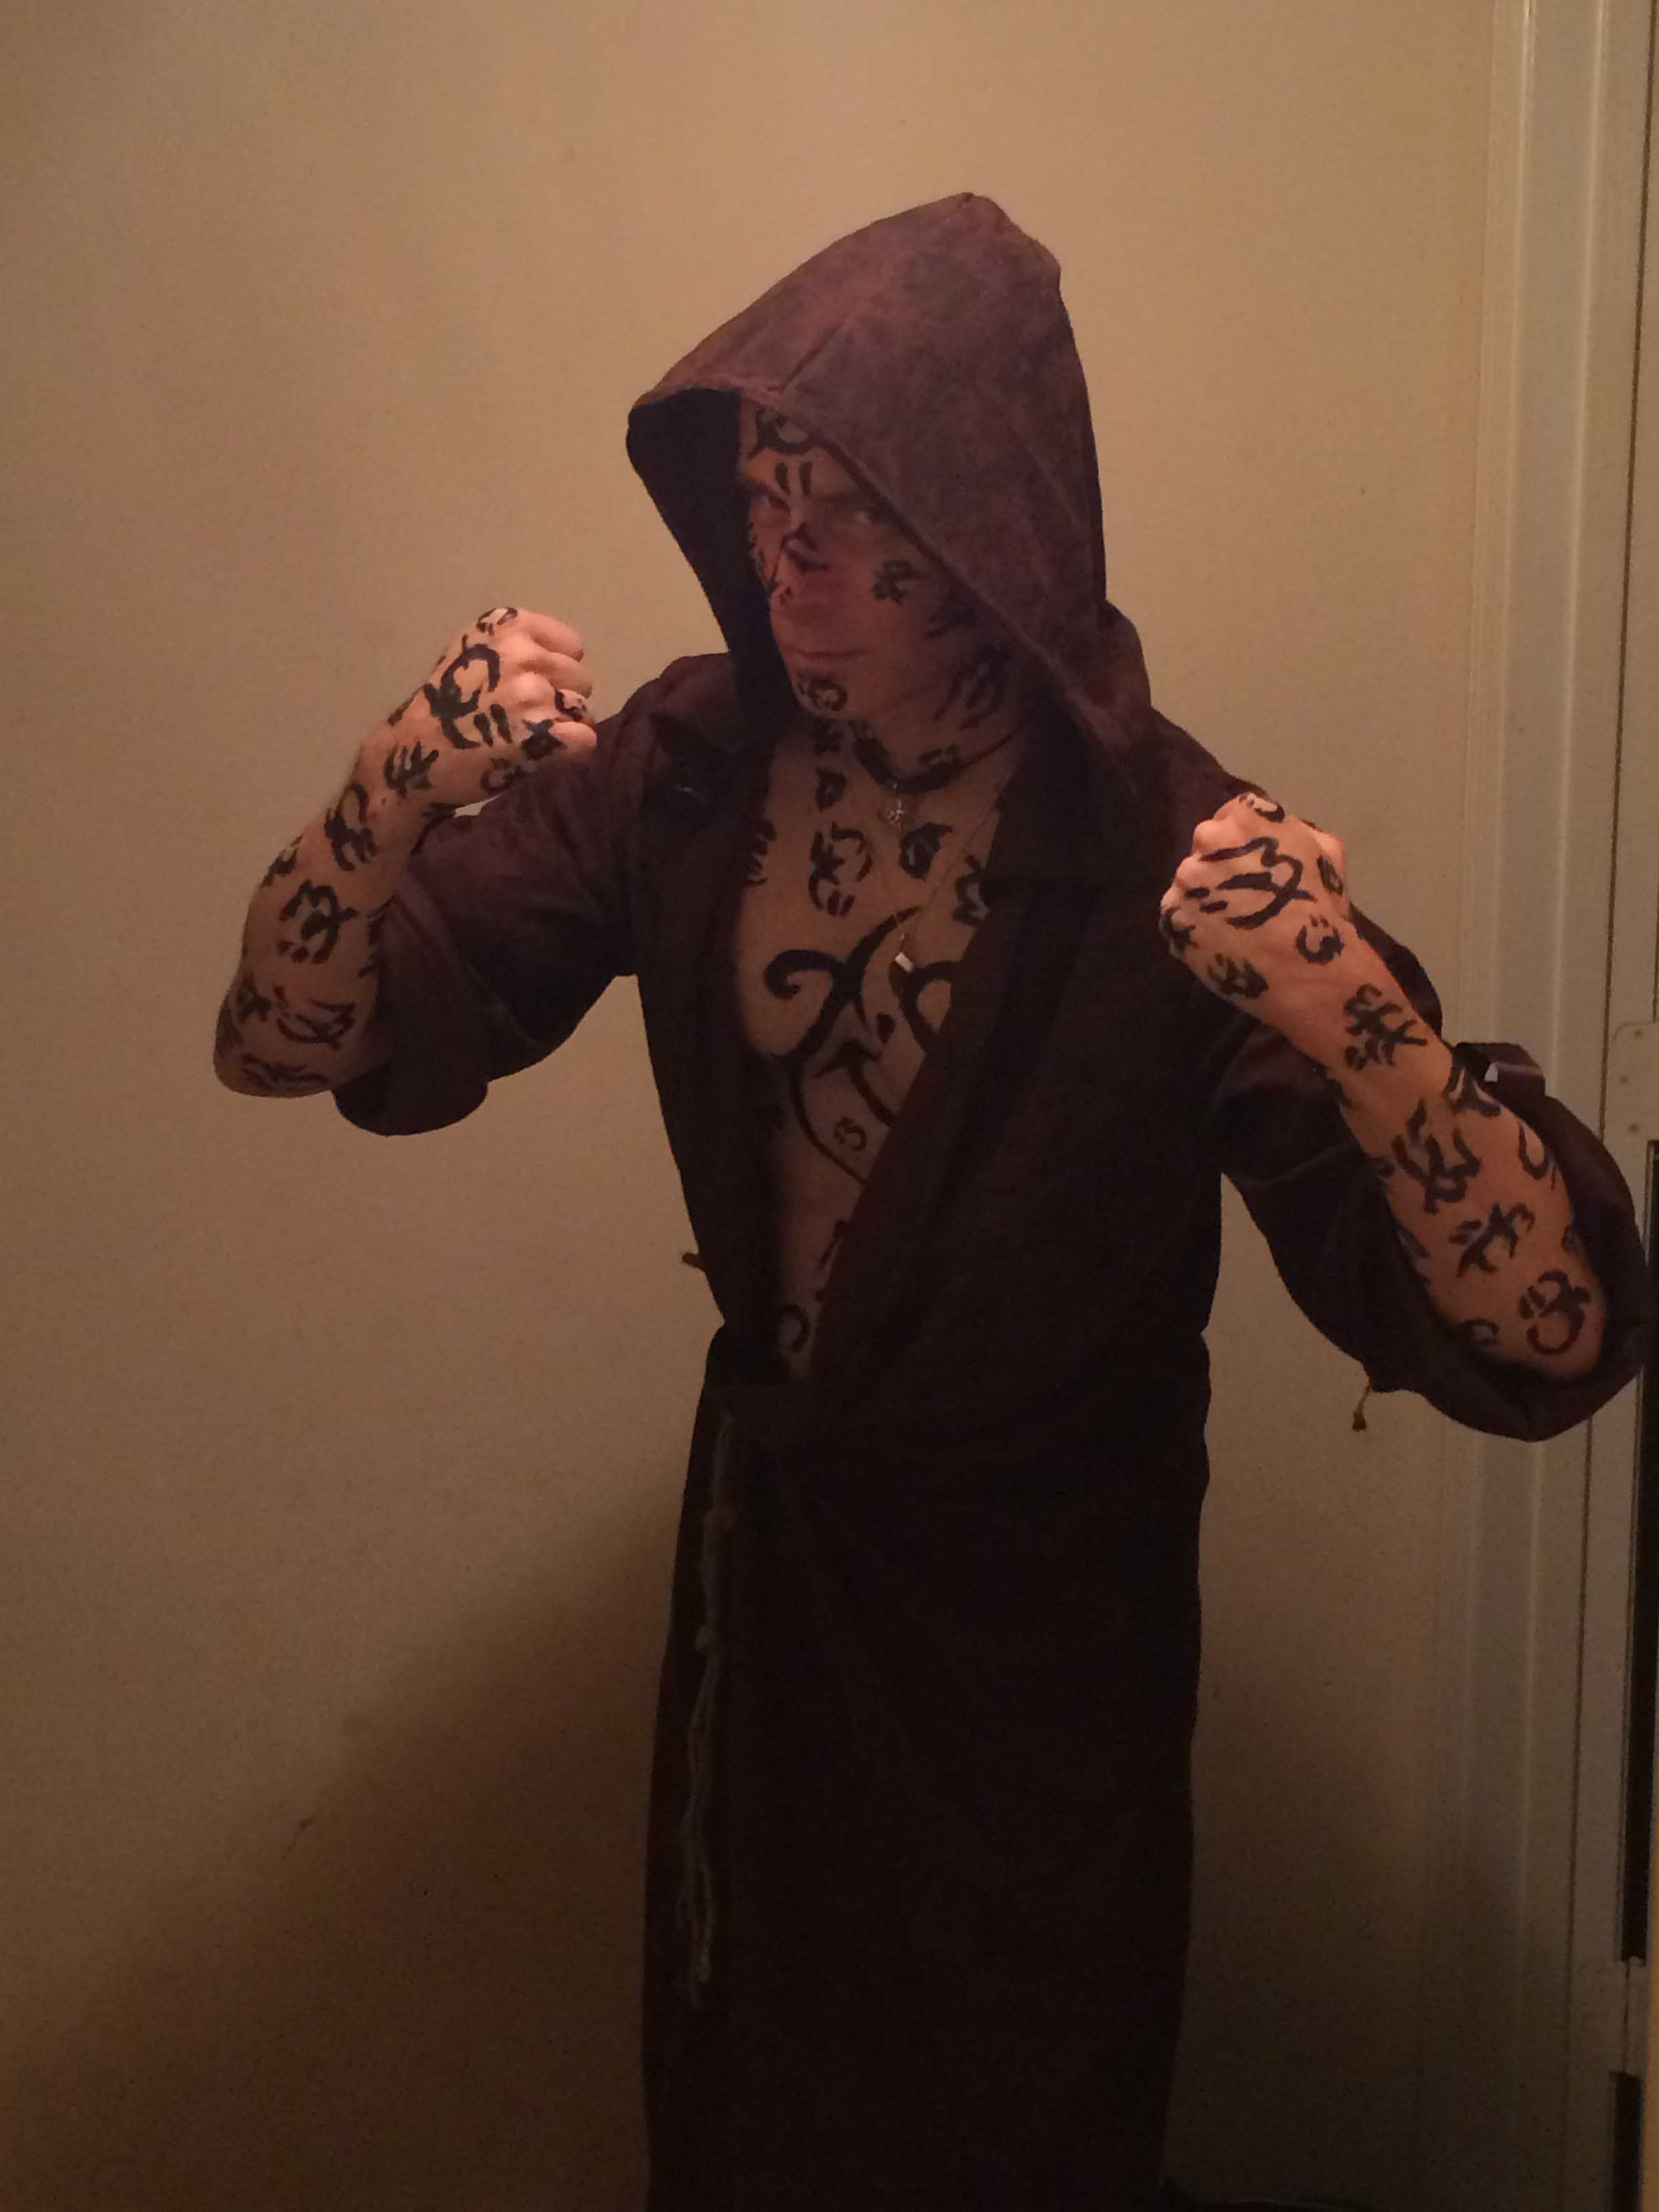
There was so much more we wanted to do on our costumes- most specifically more of the smaller detail wards- especially on the hands and the very important detail wards around the eyes and such. As it was, we got to the Halloween party at about 11:30 so we had to skip some parts.
So much like a messenger, we needed to have our wards up in a day before things started happening. We knew ward application time was the biggest factor we had to deal with when looking at Arlen and Ren. The way we saw it, the wards were the both the largest defining factor of the costume and also the largest time sink, and we would need a system to do it efficiently.
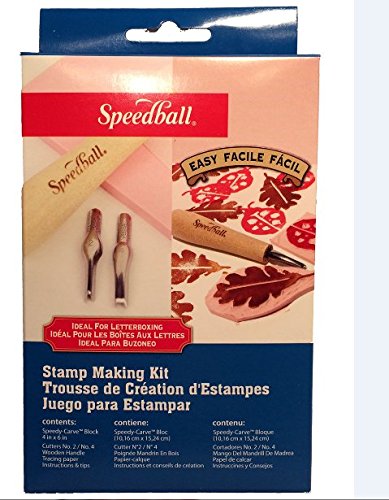 After a couple different attempts, we came up with the idea to build stamps of the wards that we could (semi) rapidly apply all over ourselves. For that, we used simple rubber stamp making kits.
We then started drawing wards on the rubber and carving out stamps. I did most of the the drawing, so Cat did most of the stamp cutting- she found pretty quickly that an Exact-O knife was more precise than the base gouging tool, and she even started using a cuticle remover for some of the finer detail.
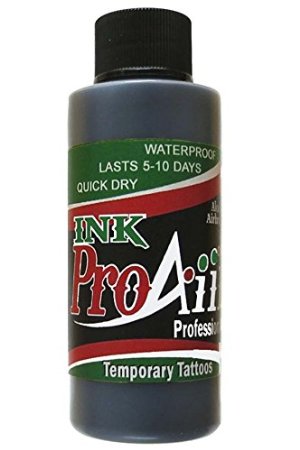 Once we had the wards cut, we used Temporary Tattoo ink. Early tests with this showed that this would stay on you once dry without transferring to other people, furniture, etcetera. It also does not come off when you touch it unless you really start to rub. It does come off with Oil Based make- up remover, but even then it takes a bit of scrubbing. This made it ideal, but it is important to note that when you are doing the initial application, if you mess up a ward, you will have to do some scrubbing to get the area clear to re-apply. I used straight black for Arlen, but Cat cut hers with her a gold base to get a different feel for Renna’s blackstem drawn wards versus Arlen’s tattoos, which I think came out as a great touch.
Once the stamps were cut, the biggest challenge was how many could we get on the day we were going to wear the costume, and just making sure we had a basic pre-plan of where the wards were going. Establishing where the hero wards needed to be and building our arrays around that was good start. We did just cut cardboard stencils for the hero wards (saving the stamps for the repeat use). We didn’t get to the smaller detail wards that really would have completed the costumes, but this also would have added a lot of time cutting smaller stamps. Since we didn’t get to this part, we really can’t say if these would hold up well via the stamps- we may have just done some make-up painting at that point.
Cat did all the costuming and knife fabrication, and we both painted and stamped wards all over ourselves for most of Saturday.
In addition to trying to streamline the application, the other element that helped us get this done was knowing ahead of time what areas need to be warded. For example, I initially was going to shave my head for this, but decided not to mostly to save warding time, and then found keeping the hood up kept the character with a more mysterious/ominous feel overall anyway. We could skip areas where we knew wards wouldn’t show- such as where they sandal straps cover, and Cat built a button strap on my sleeves so I could present the sleeves down, and then expose only warded skin up to the elbow. Basically we tried to be real deliberate with where we spent the warding time.
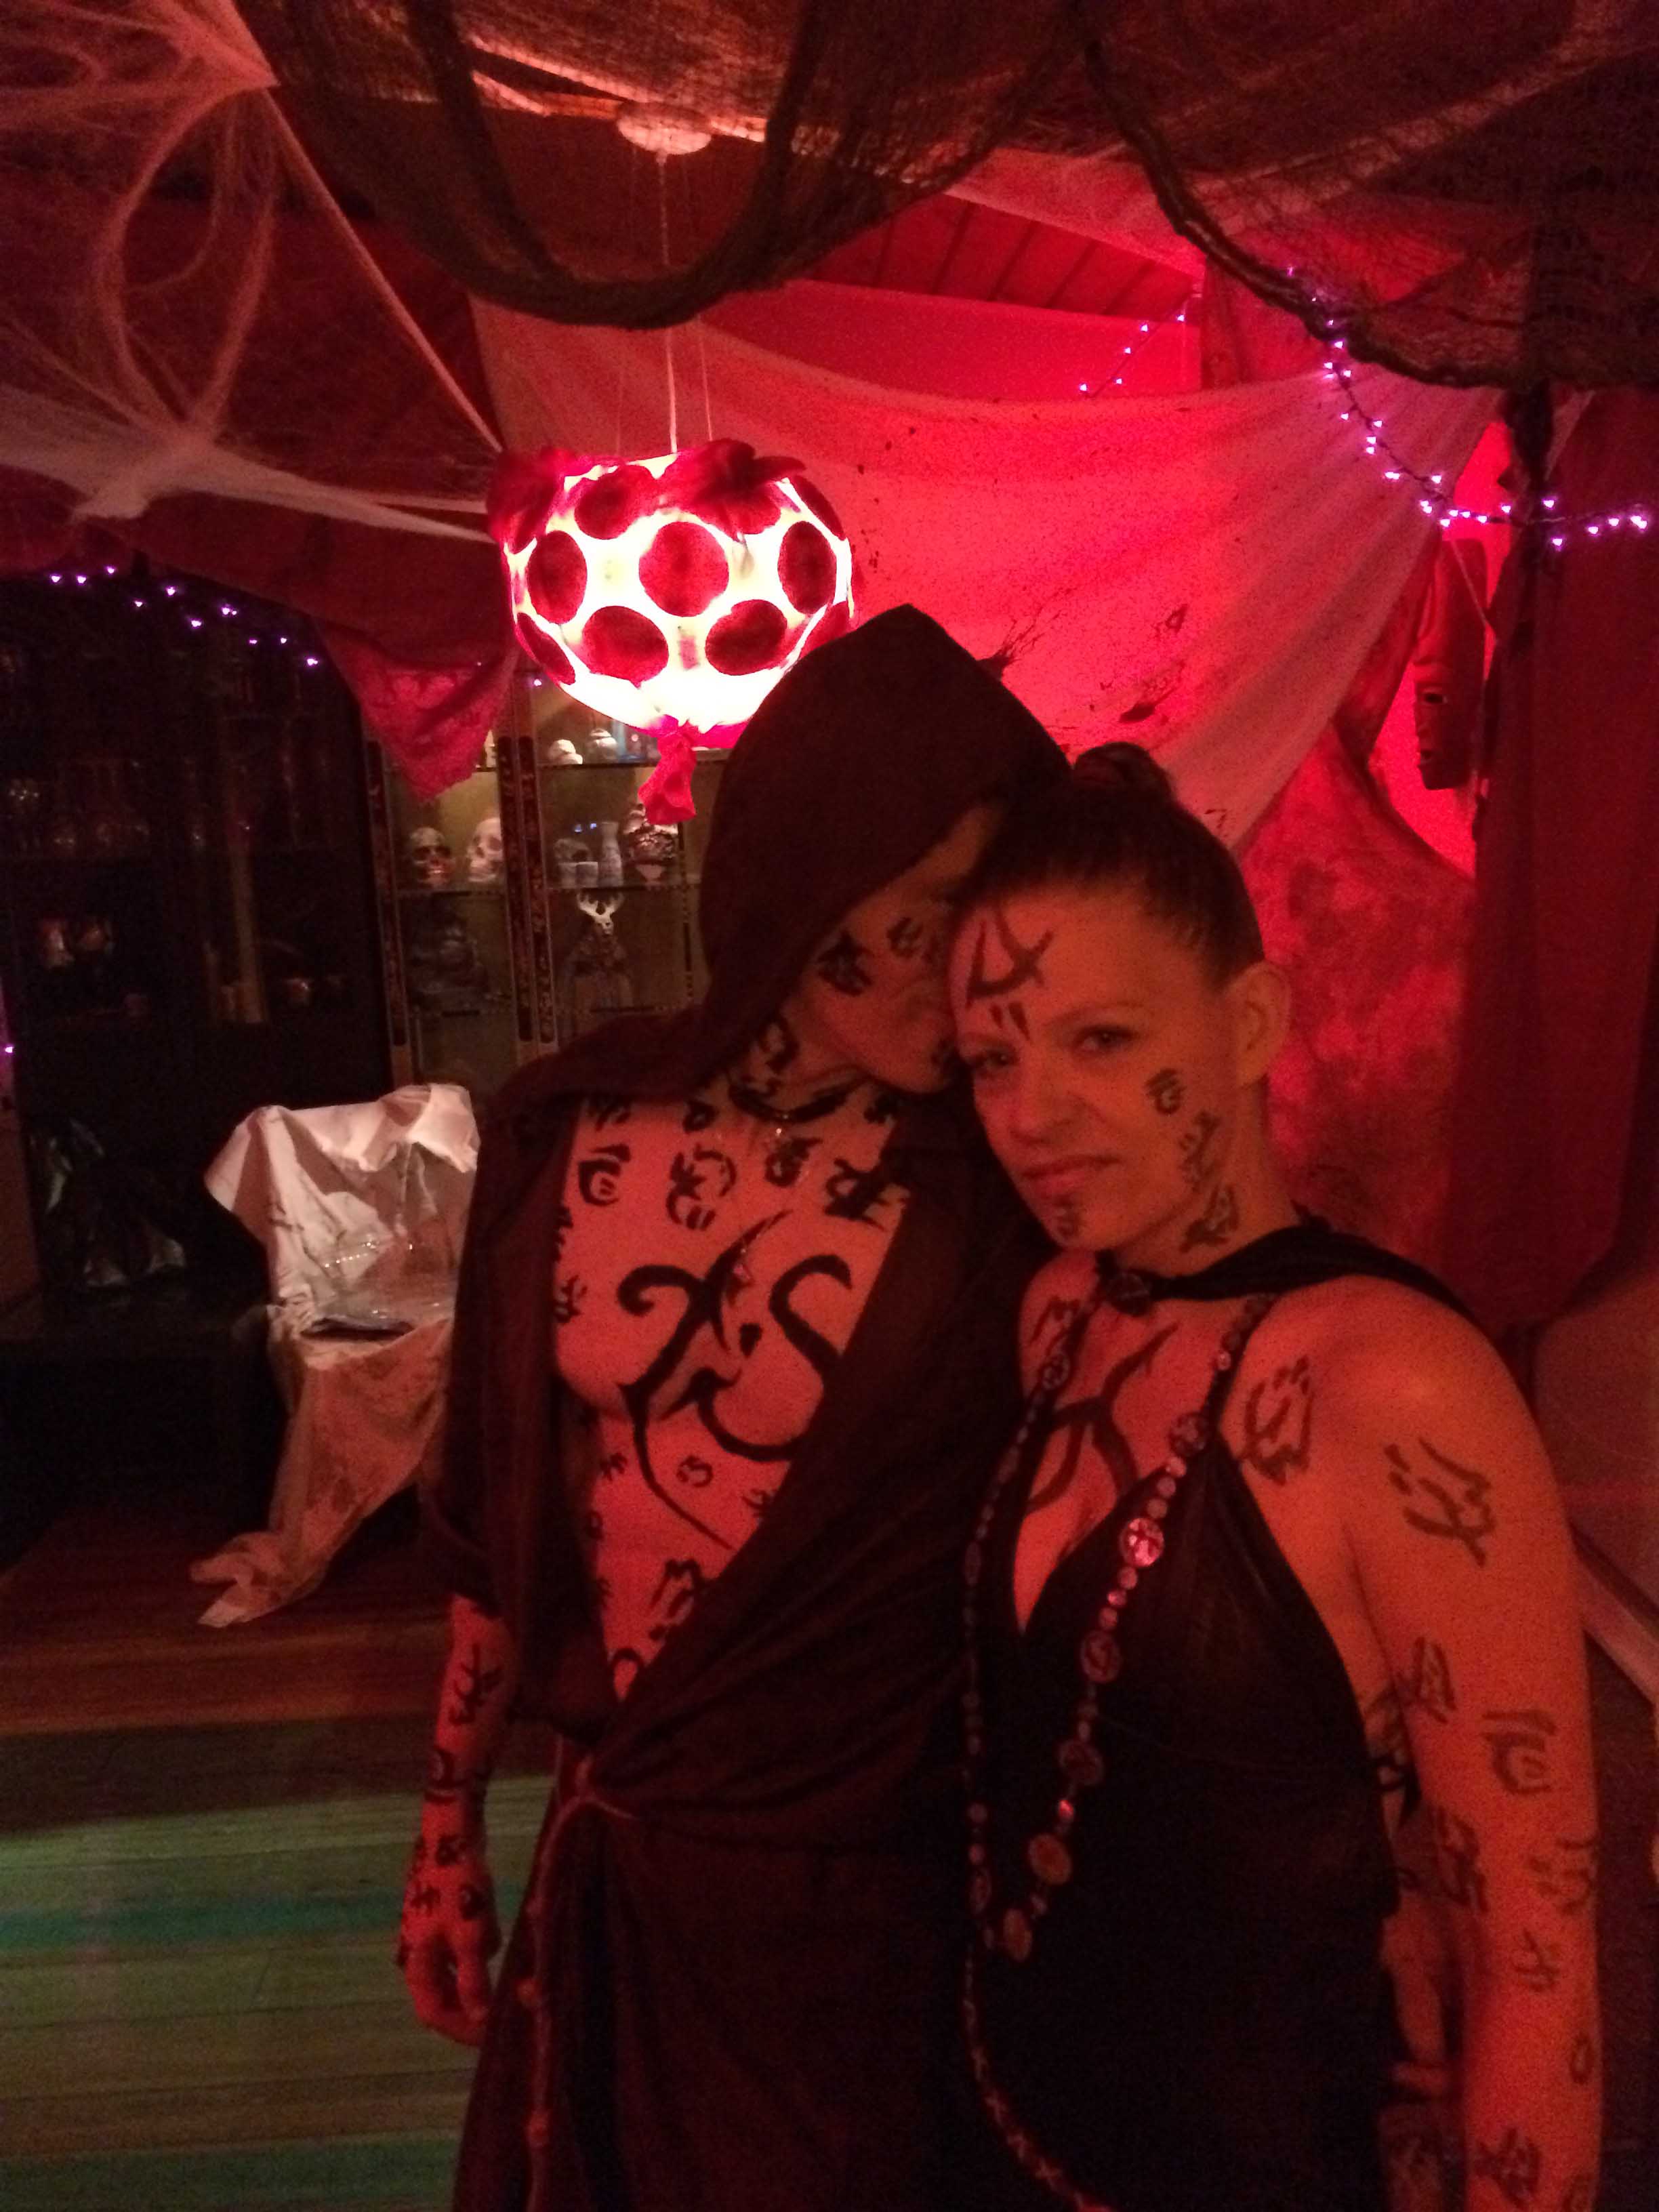
Overall they were really fun costumes to put together despite a rather large time investment on application day alone, and I think if we get a chance to wear these costumes again, we’ll be able to do even better.
Thank you so much to Daniel and at Cat for creating costumes and for taking the time to tell us about it! It was a great idea to use stamps and cosplays look absolutely amazing
You can grab a copy of The Warded Man hardcover on Amazon or Books-A-Million. If you’d like to stamp yourself with wards the way Daniel and Cat did, you can find the stamp-making kit here and the body paint here!

